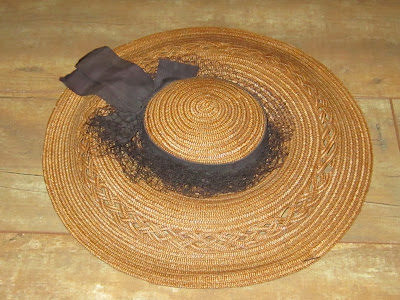
When I bought this vintage straw hat it was in really rough shape. It needed a lot of love in order for it to be wearable. Before I purchased it I asked the seller if she knew how to repair it as I did not want to buy something I could never end up wearing. She said to use clear nail polish as a glue to fix the breaks in the straw. This peaked my interest . . . clear nail polish . . .Such a simple fix idea. Would it really work? Well I bought the hat, took it home, and immediately set to applying the clear nail polish to the areas in need. The areas that needed fixing were the breaks in the straw. Places where the straw had grown brittle and snapped. I repaired this hat years ago - many years before I began blogging so there are no before pictures but lots of after ones. Below, my repairs. . .Can you see them?


To fix the breaks in the straw, I first lined up the ends as best I could and applied the clear nail polish in layers. The first layer was to hold the pieces together then the many, many, many multiple layers after that were for strength and stability. One nice thing about the clear nail polish was that it dried very fast so I did not have to sit there and hold he straw ends together all day. There were some bits where the straw had fallen off and there was not much I could do with those. I guess those are character. Next fix was attaching the crown of the hat to the brim. To fix that , I carefully whip stitched the two pieces back together and then I took the clear nail polish again. Layer after layer I sealed my stitching and at the same time glued the two pieces together. I cannot tell you how much I used but the hat has held up very well since then and through many wearings. The clear nail polish was a great tip then and I want to pass it on to you now. There is not much to applying it, it's cheap, and it works. I hope this tip has helped!


Comments
Post a Comment